


I’ve had a growing frustration for the last few months. My Pinterest feed has been filled with these really pretty Anthropologie mirrors, but the fringed one I want is literally $498! I’m just not going to pay that much for something to hang on my wall!
I’ve been in the process of decorating my office in my new apartment and I really want that fringed look Anthropologie does so well. I did a little thinking, and I don’t think I want a mirror in my office, but I would love a cork board to display some pictures and important notes.
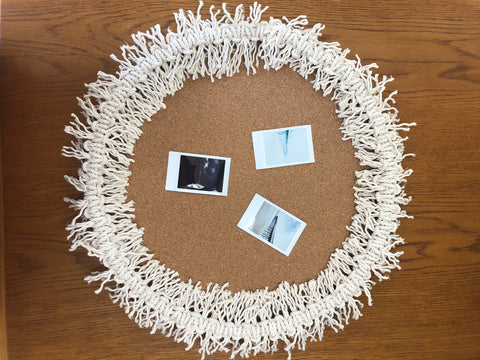
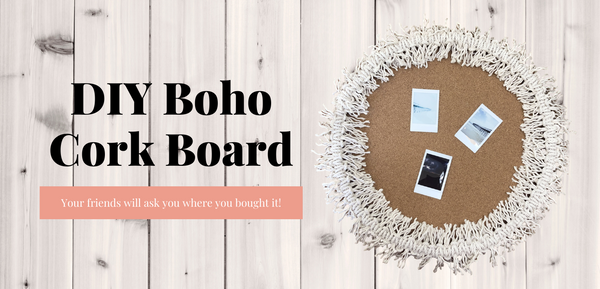
I got a little bit creative over the weekend and I’m going to show you what I did to make a cork board that any lover of boho style would want in their home.
The supplies you will need for this project overall are very simple, if you don’t have some of these at home already you can pick most of them up from any craft store.
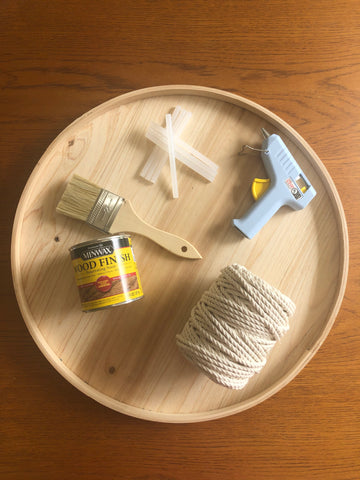
You’ll need:
- A hot glue gun and glue sticks
- A chip brush
- Stain in the color of your choice. (I used Special Walnut.)
- Scissors
- 3-ply macrame cord
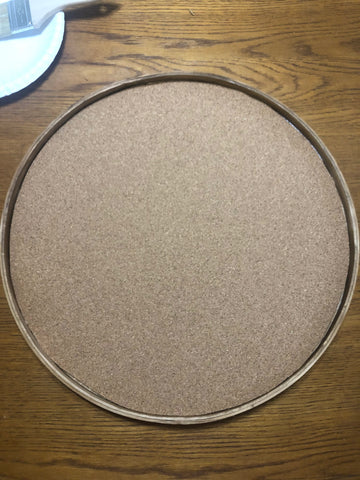
- Wald Imports 14 inch Round Wood Tray
Things I left out of this picture but use later on:
- Elmer’s glue
- An old rag to use for staining wood.
- A roll of craft cork
Step 1:
The main feature of this project, and the most time consuming part I might add, is the macrame frame. If you’re new macrame, this is a very easy project to get you started, the frame is the basic square knot repeated over and over. I worked on most of this frame while watching Netflix one Saturday afternoon.
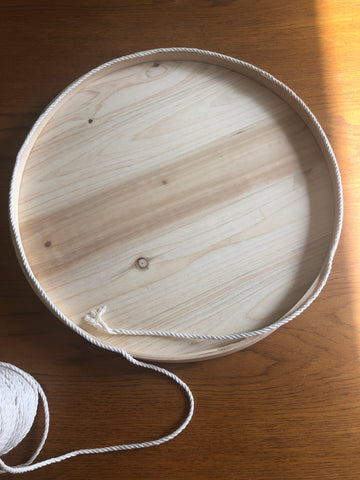
I would love to be able to give exact measurements on how much cord you will need for this project, but I just kind of approached this project by eyeballing measurements. To create the center cords, I outlined the perimeter of the wood tray and then folded the cord in half. Be sure to add a little extra length to your cord, in macrame it’s always better to have too much cord than not enough.
For the cord you’ll be using to tie square knots with, I used my hand to measure out the length. A cord that is about the length of your hand (top of middle finger to end of palm) is a good length to work with.
I didn’t take a picture of the cord with my hand for some reason, but here’s my first short cord in scale with my scissors.
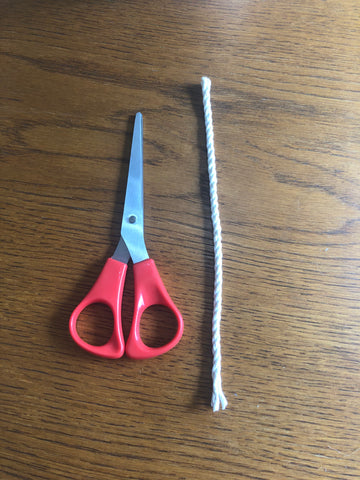
Cut a lot of cord to begin with, working with a good stock of pre-cut cord makes it easier to get in a rhythm once you start tying knots. There’s not a specific amount of short cords that you will need, just keep making more as you need them.
Step 2:
For this project, you’ll be creating square knots. I’m going to try and walk you through how to do it with pictures, but if you need additional help, I always recommend Youtube. That’s how I learned how to do square knots.
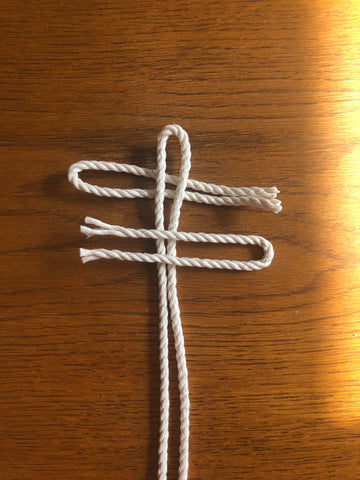
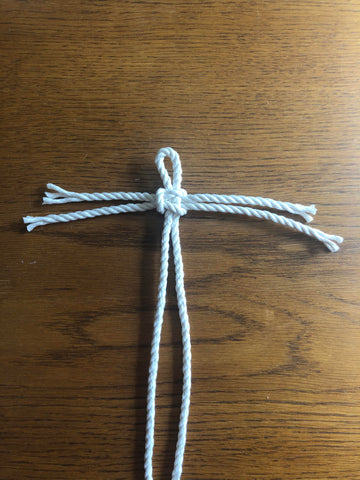
To begin, make sure your long center cord is folded in half and both sides are even.
When you make your first square knot, it’s a good idea to leave about a ½ inch loop at the top of your center cord. This will help prevent your square knots from slipping off while you’re working.
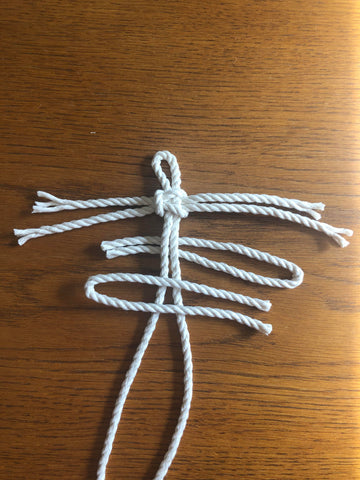
Once you’re ready to make your first knot, make sure that one short cord is under the center cord and one short cord is on top of the center cord.
Next, take the top cord and put the ends of it in the loop of the bottom cord.
Now pull the ends of the bottom cord into the loop of the top cord. Now that you have both cords pulled through, tighten the knot.
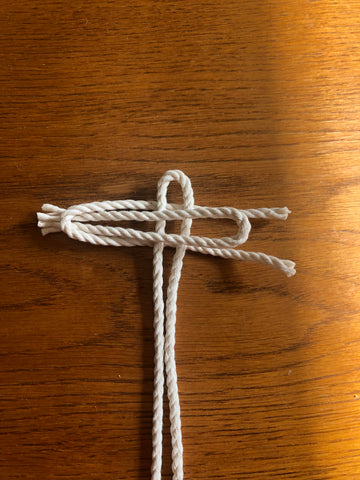
Now that the cords are pulled tight, they should look like this.
Now lets tie another knot!
For the first knot, the bottom cord’s loop pointed left and the top cord loop pointed right. For this step we are going to alternate which way the loops are pointing. Put the bottom cord pointing right and the top cord pointing left. Now pull the ends through the loops and pull tight like you did for the first knot.
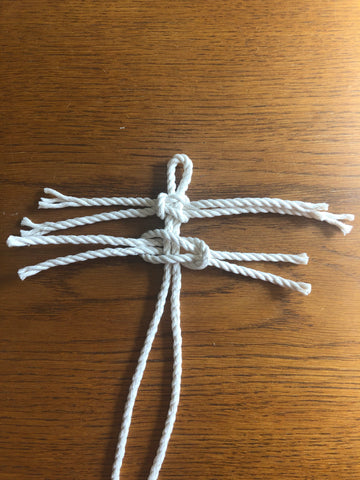
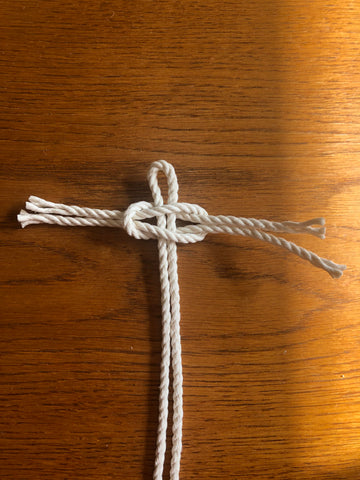
This is how your cords should look after just two knots. Notice how the loop from the bottom loops creates a nice straight line on each side? This is the look you want. Keep alternating top and bottom cords with each knot until you’re done putting knots down the whole length of your center cords.
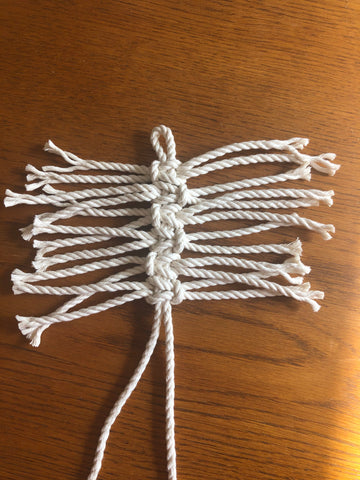
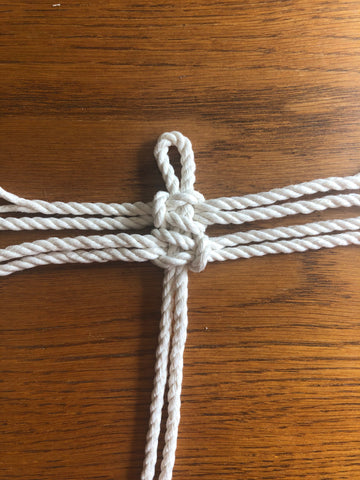
This is how your cords should look after a few more knots. If you’re worried about the ends of your short cords being too long, don’t worry we will fix that in the next step.
Step 3:
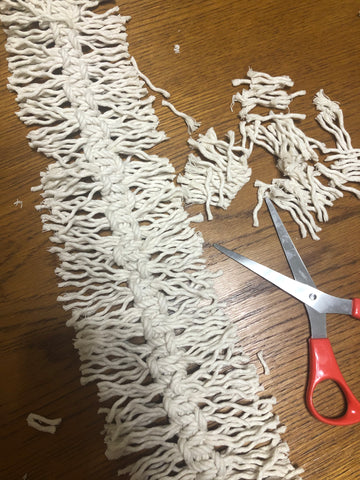
Now that you’ve created enough square knots to go around the perimeter of the wood tray, it’s time to give your cords a little trim.
Cut them to the length you desire. Just make sure to take your time to get the fringe as close to the same length on both sides as you can.
Once you’re done trimming, clean up and get ready for cutting cork!
Step 4:
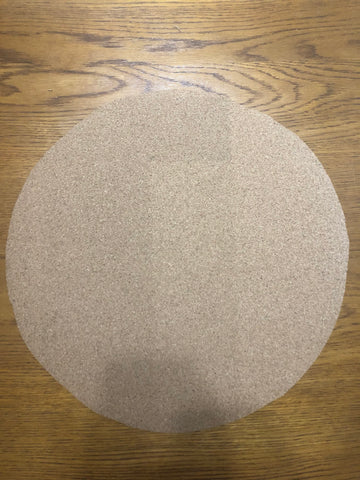
Unroll enough cork and lay the wood tray out to trace a circle. I forgot to take a picture of this step, but it’s pretty straight forward. Trace your circle, and then cut it out.
The circle you cut out will not be the correct size to inlay in the frame of the wood tray. You’re going to have to trim it down some. I had a little bit of trouble with this, just remember, it doesn’t have to be a perfect circle, the fringe you’re going to add later is going to cover a lot of imperfections.
Once you have a circle (or something that looks like a circle) that will fit inside the wood tray, trace that circle and cut out another circle of cork. You’re going to need two layers of cork to make a cork board you can stick pins in.
ALTERNATIVE: You can also make the bottom layer of your cork board cardboard instead of cutting two layers of cork.
Step 5:
Now it’s time to give a little attention to the wood tray. Wald Import’s wood trays are raw natural wood that are perfect for staining or painting. For this project, I decided to use Special Walnut stain because it matches the color of the wood in my apartment. You can choose any color paint or stain you want.
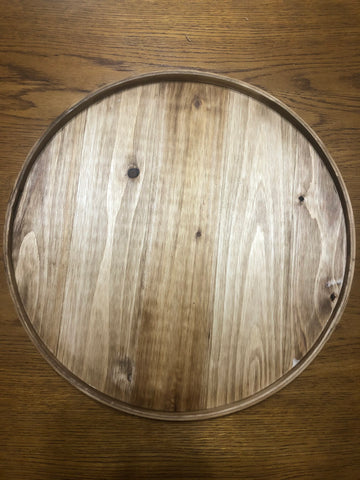
Just focus on staining the frame. I stained the front of the tray even though I’m about to cover it in cork. I really just wanted to show off how pretty the wood grain is on the wood tray.
Step 6:
Now is the time for the cork circles to meet the wood tray.
I poured Elmer’s glue in a paper plate and used the chip brush to spread glue over the surface of the wood tray. I find this gives you the best glue coverage. Now take the worst looking of your cork circles and lay it on the wood tray.
Now spread a layer of Elmer’s glue on the cork and lay your other cork circle on top.
Your wood try should look like a basic cork board now.
Step 7:
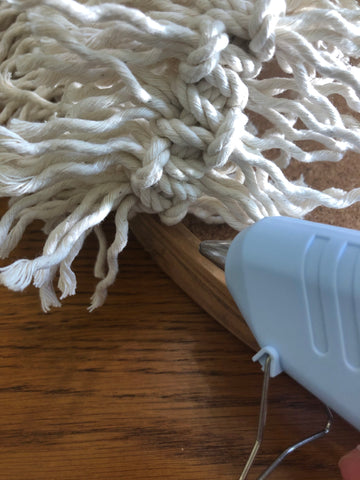
Now that your cork is glued in place, it’s time to start gluing your macrame fringe to the frame of the wood tray.
I used hot glue for this step, it’s not messy and it’s the best thing I found to hold the macrame in place.
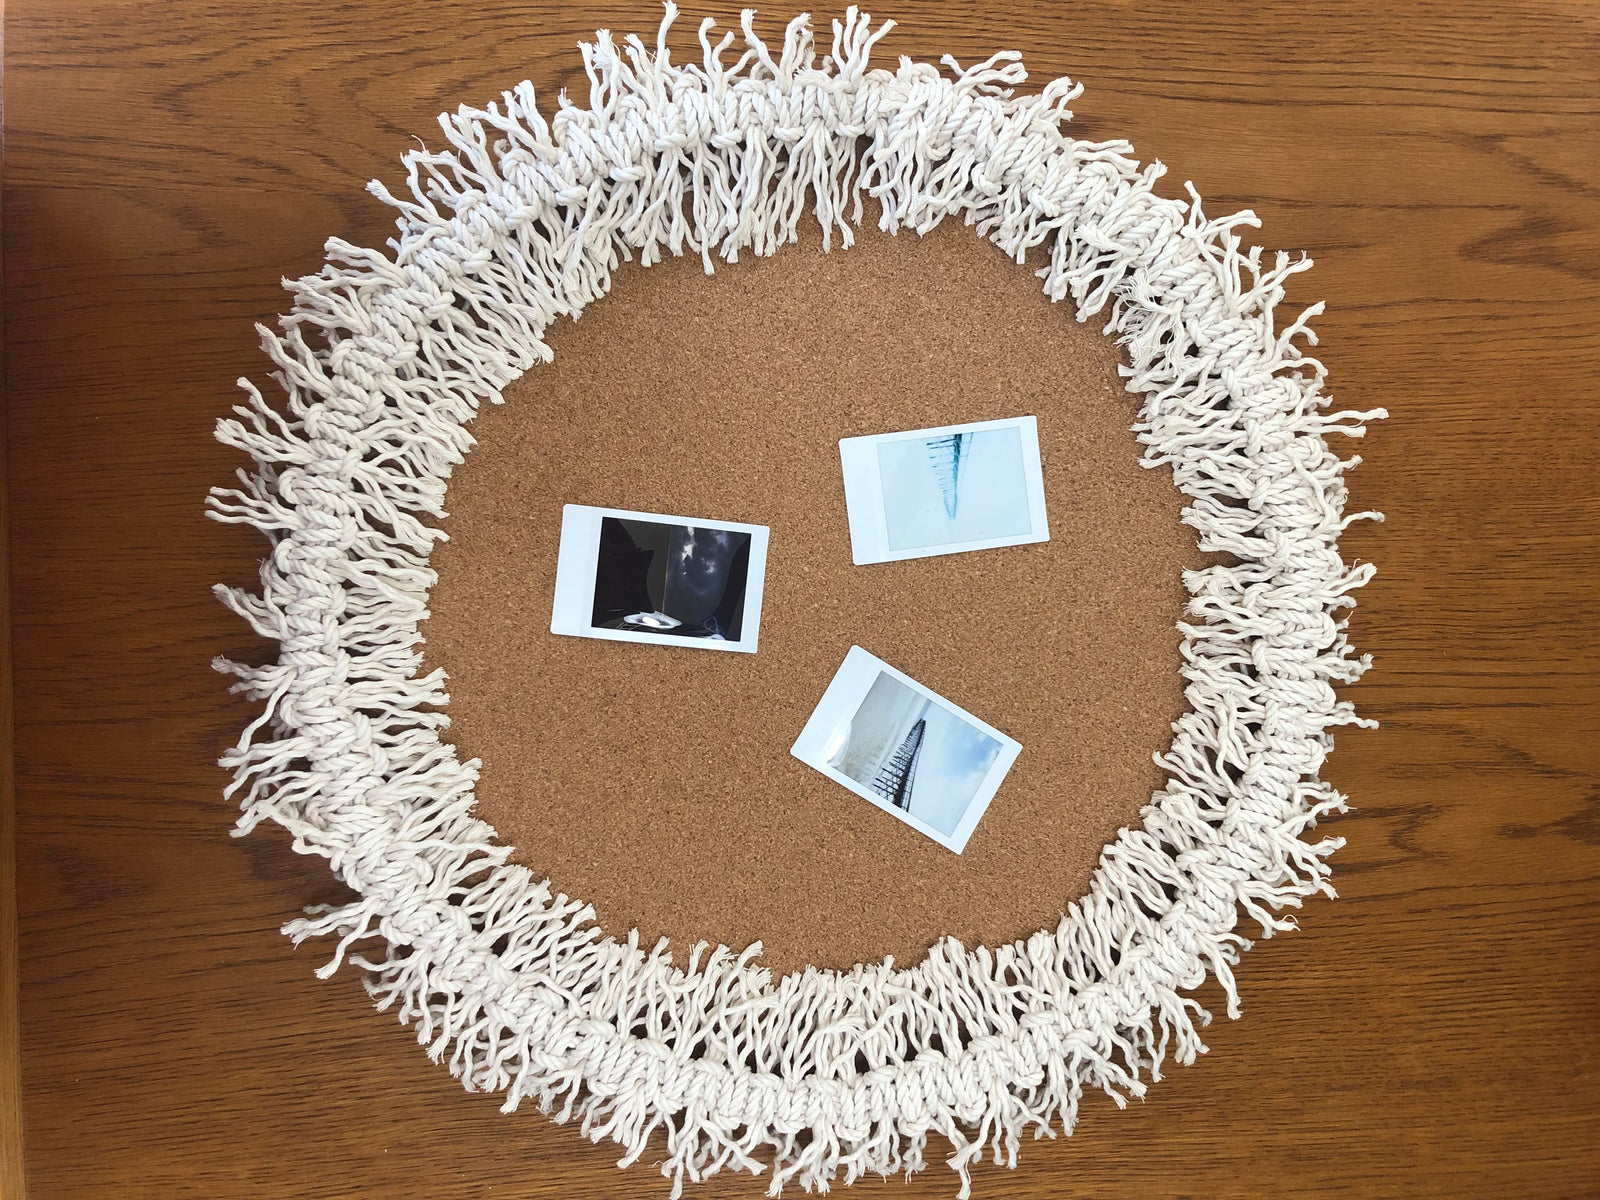
This is how your cork board should look once all the fringe is glued down.
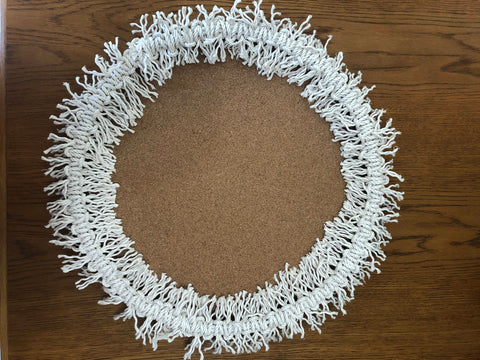
At this step you’re pretty much done, you can make a few needed trims to stray fringe if needed. I didn’t get my fringe perfectly the same length all the way around like I wanted, I’m going to work on getting that done. Or, I might just call it “organic” and call this project done. It’s all about what you’re envisioning for your own decor.
Once you’re finished with your cork board, add a sawtooth hanger to the back so you can hang it on the wall.
I think this project was really fun. It is also a LOT cheaper than if I were to have bought something like this from Anthropologie.
More projects to come, so stay tuned!