


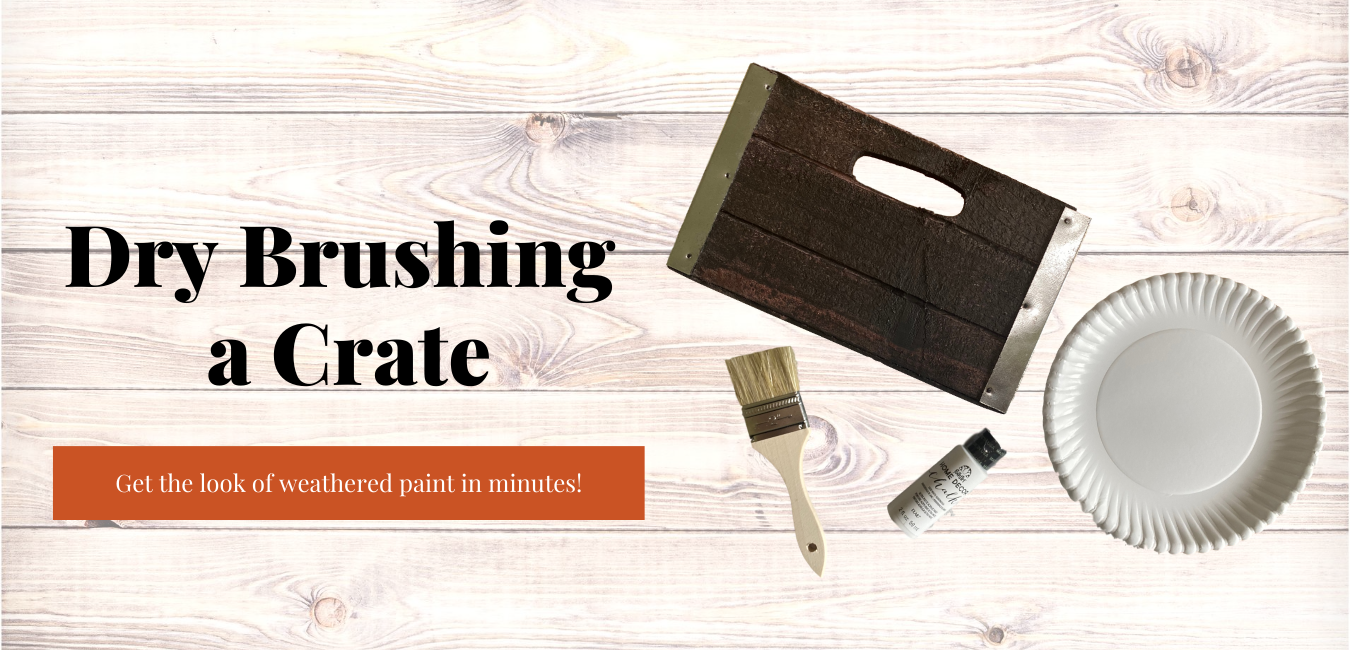


Textured wood crates are the perfect surface for chalk paint. In this blog I’m going to show you how to transform one of our gray wood crates with a “dry-brushing” technique using just a simple paint brush, paper plate, and bottle of chalk paint. The best part about this project is you will get that weathered, distressed look that everyone loves without having to use messy sandpaper.
Step 1: Load your brush!
Pour a small amount of the chalk paint of your choice into a paper plate. Next, take your paint brush and dip just the ends of the bristles into your paint. The key to dry brushing paint on is to use as little paint as possible. That’s why they call it “dry” brushing!

Now that you’re brush is wet, dab off some of that excess paint on your plate.

Step 2: Paint with a light hand.
Once again I want to emphasize that with dry brushing, you want to work with as little paint as possible. This will ensure that you’re painting with light coats of paint that you can layer to get your desired look.
Here’s what my first brush stroke looked like:

See how light it is? This is exactly how you want yours to look. The light brush strokes will overlap and they’ll create an uneven, “weathered” look. (You’ll see how more paint looks in the next step.)
Step 3: Keep going until you achieve your desired look.
This is what the first side of my crate looked like after I dry brushed the entire surface. Note the edges aren’t completely covered in paint and you can see some of the outlines of wood grain. This is exactly the look I was going for. You need to decide how light or heavy you want your coat of paint to be.
Once you find a look that you like, repeat it on the other 3 sides of your crate. Don’t worry, they don’t have to look exactly alike. That’s the beauty of something that is weathered and distressed, it’s not perfect.

Step 4: Let your paint dry.
Now you just have to be patient and let your paint dry. (The great thing about dry brushing is the coats of paint are so thin, it doesn’t take a long time to dry down.) Use this time to clean up your craft supplies because you’re done!
Here’s what my crate looked like once I was finished painting. I couldn’t take a picture of all 4 sides in one picture, but you can see that the two sides showing are very similar but are different.

I really like how quick and simple this craft is. You can transform the look of a wooden crate completely in just a few minutes. The crate used in this DIY comes from a set of 3, if you want to find this one for yourself, it’s SKU:8132/S3/GRAY on our website. There are also a few other kinds of crate sets so you can find the perfect style and size for your home.