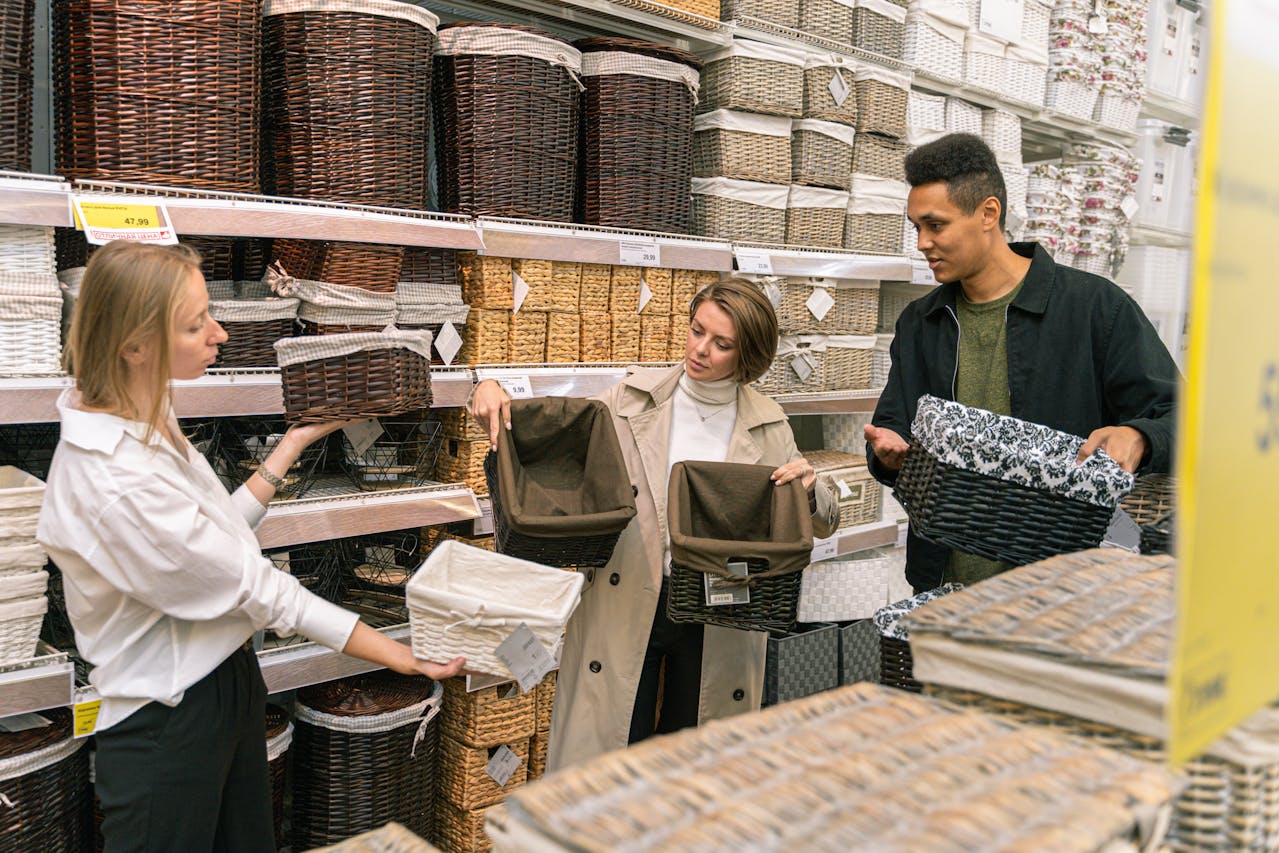


Whether you want to create a custom gift for a friend or you are a retailer seeking new product ideas, custom gift baskets are simple, personalized gifts that people love to give and receive. We know it’s often hard to get started so here is our “tricks of the trade” step-by-step guide:
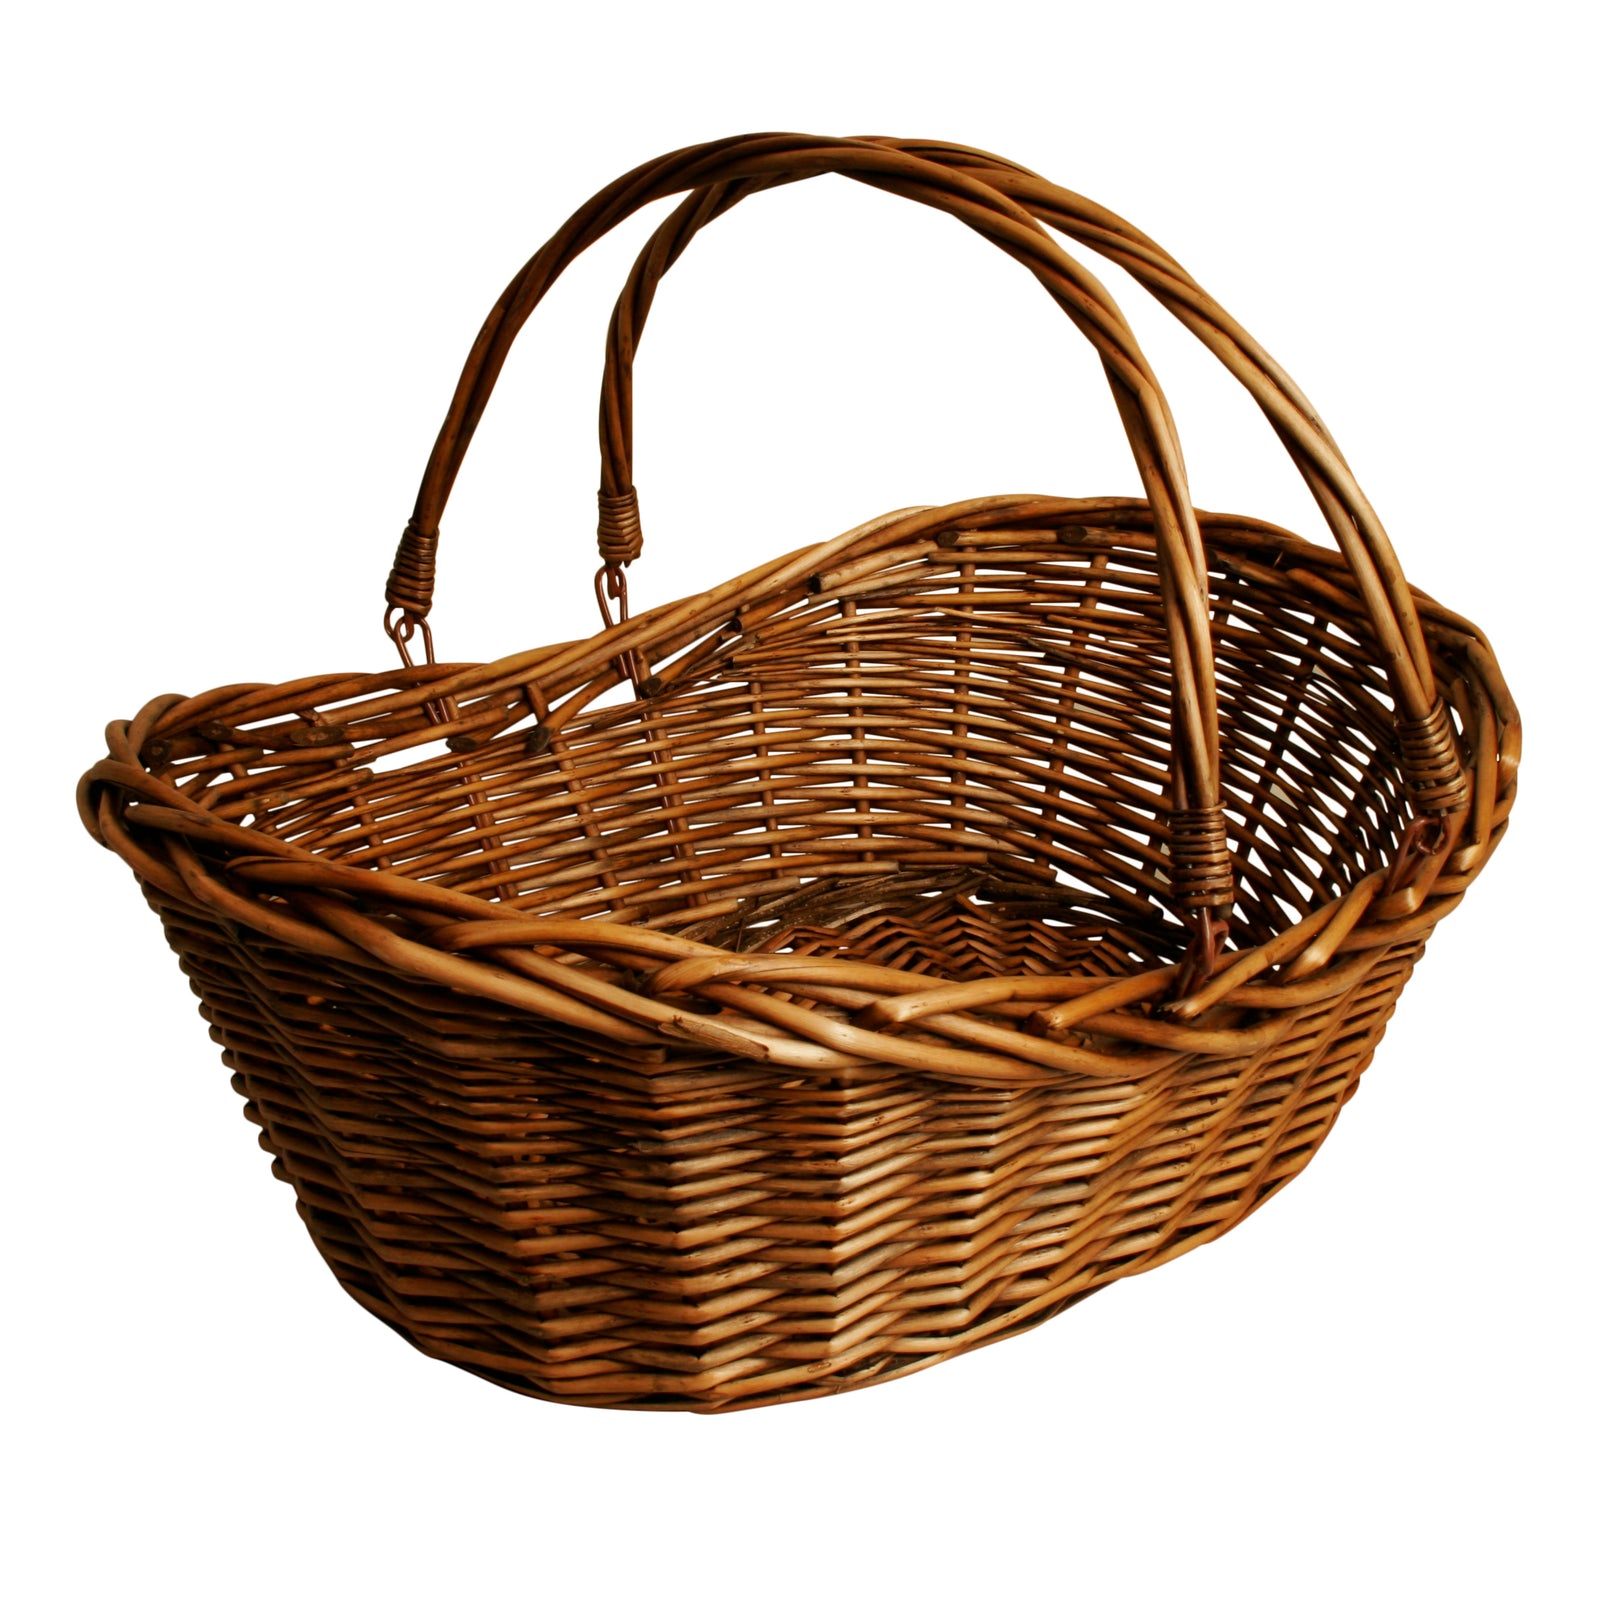
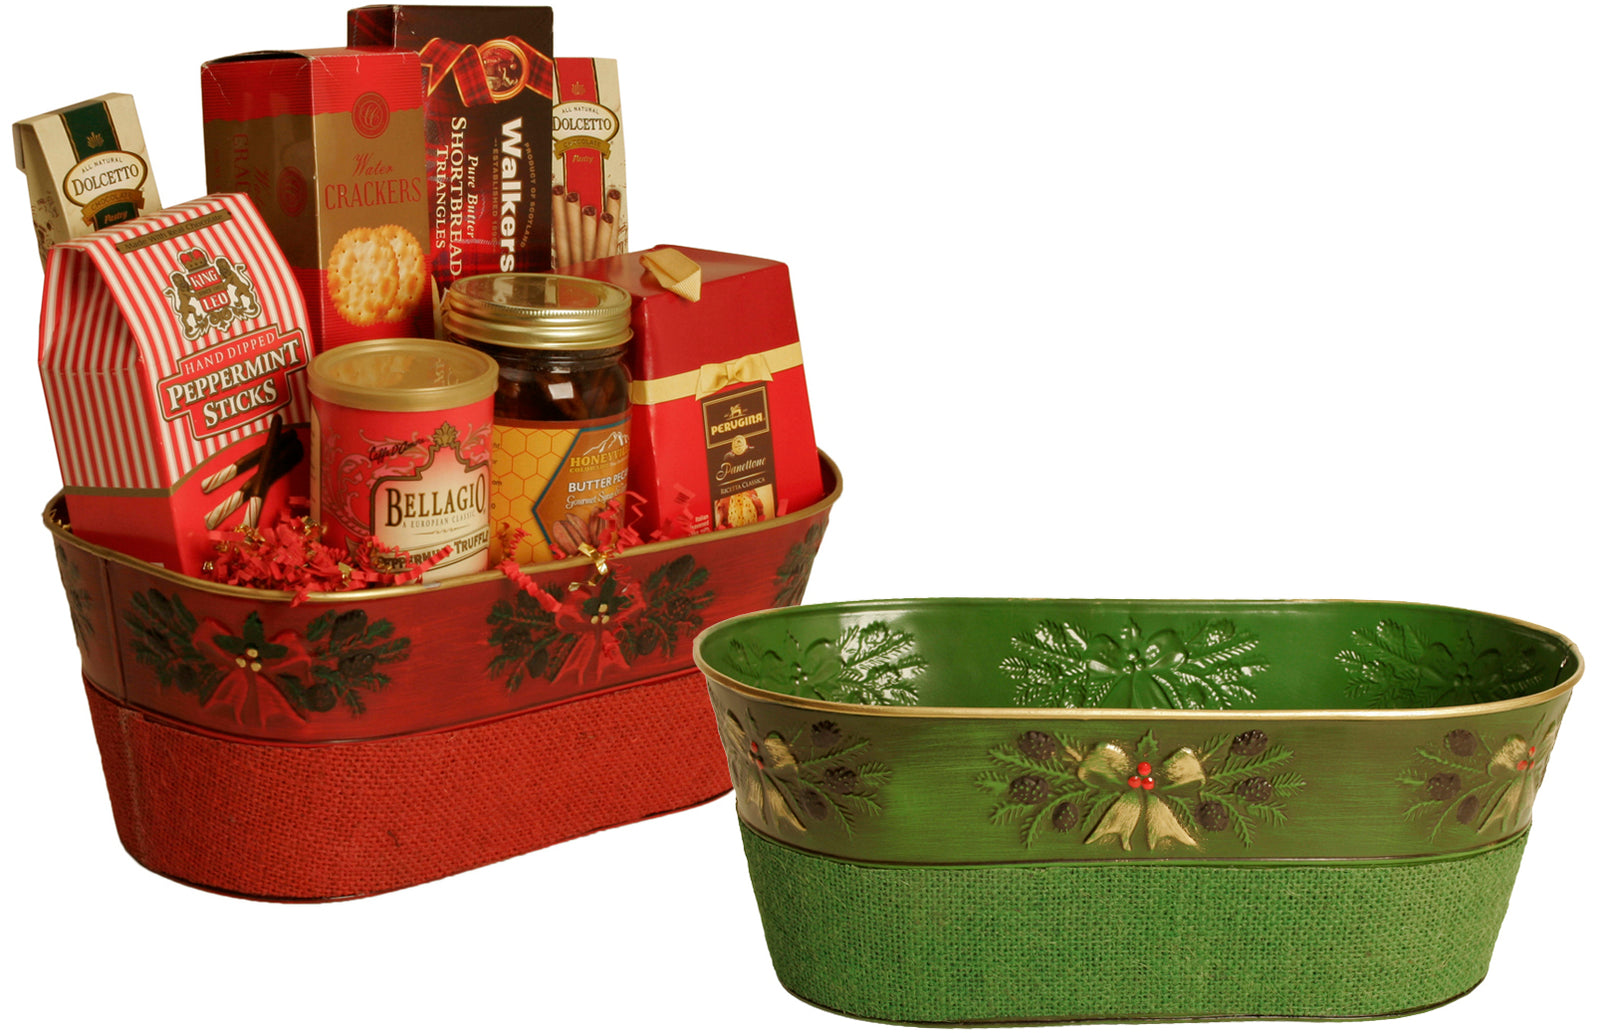
Step 1: Gather your supplies. You will need a container, packing material, gourmet items, scissors, curling ribbon or embellishment and some clear tape. The two most important items are the container and gourmet items. Wald Import’s has a wide-variety of baskets in varying sizes and colors. One of our favorites is the willow basket.
Step 2: Fill the base of the basket with packing material. You can use Kraft paper or unprinted newspaper. Just be sure to fill the basket 2/3 full to create a nice stable base for items to rest on.
Step 3: Put colorful crinkle cut paper shreds on top of the paper. This makes a beautiful decorative cover and you can customize the color. Wald sells some nice options of Spring-Fill crinkle cut.
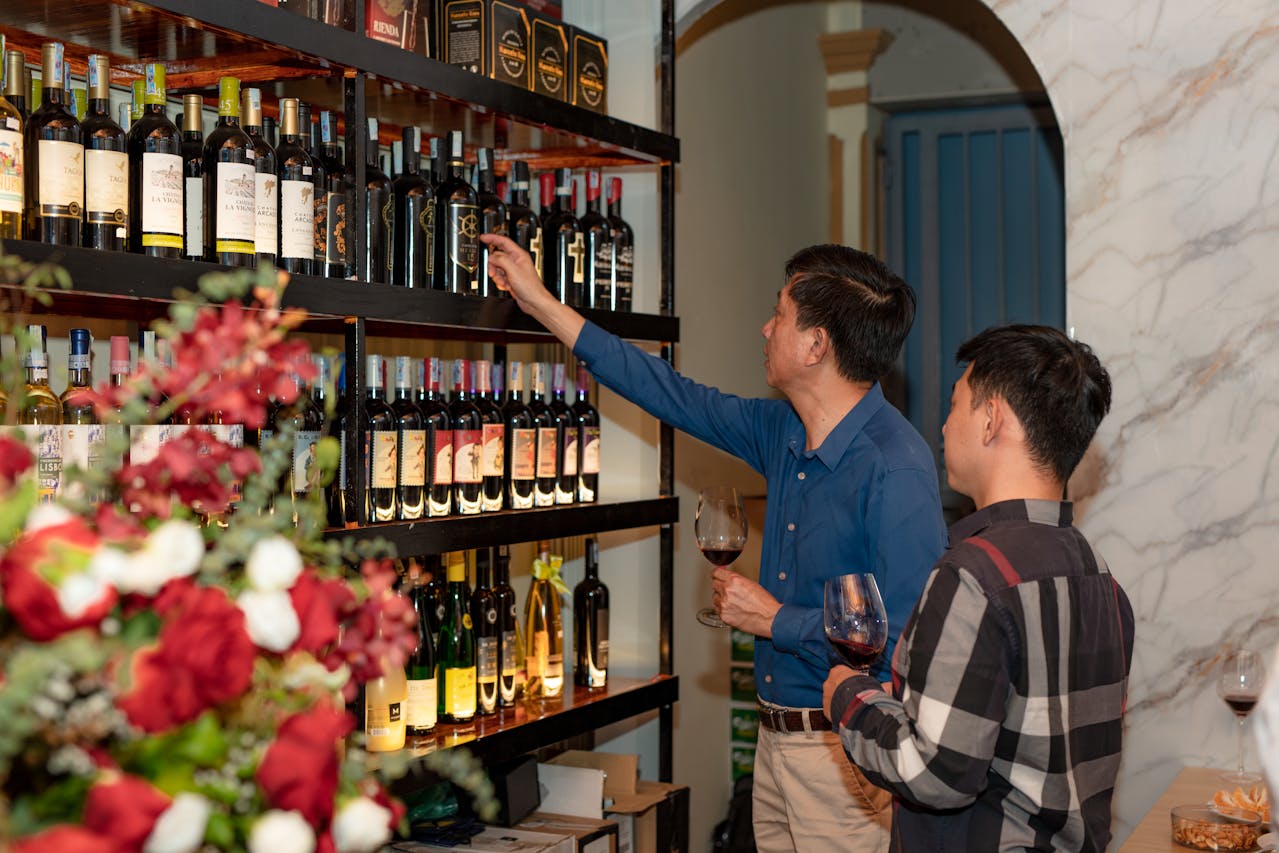
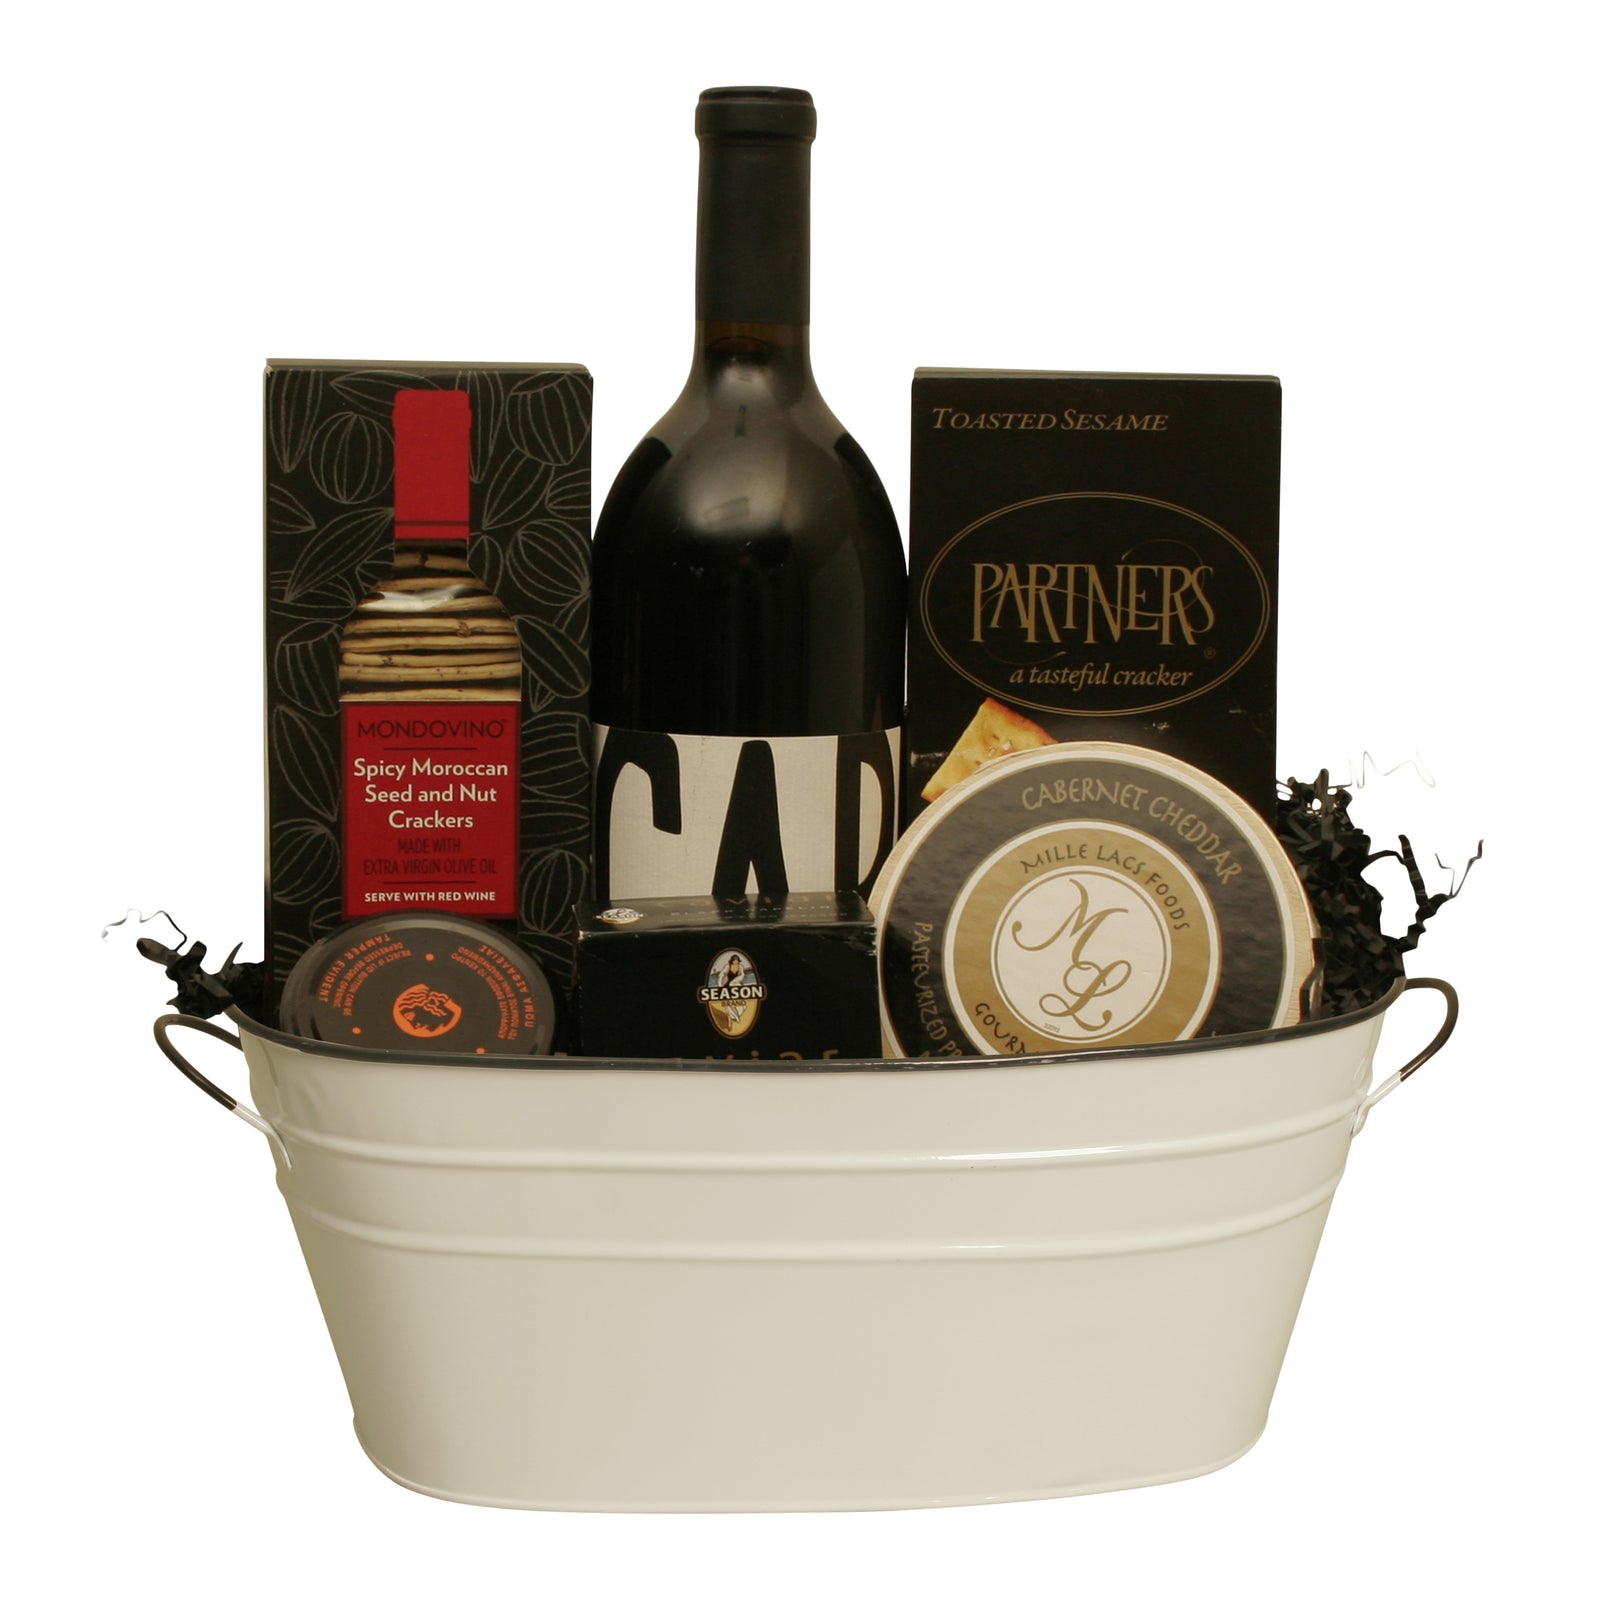
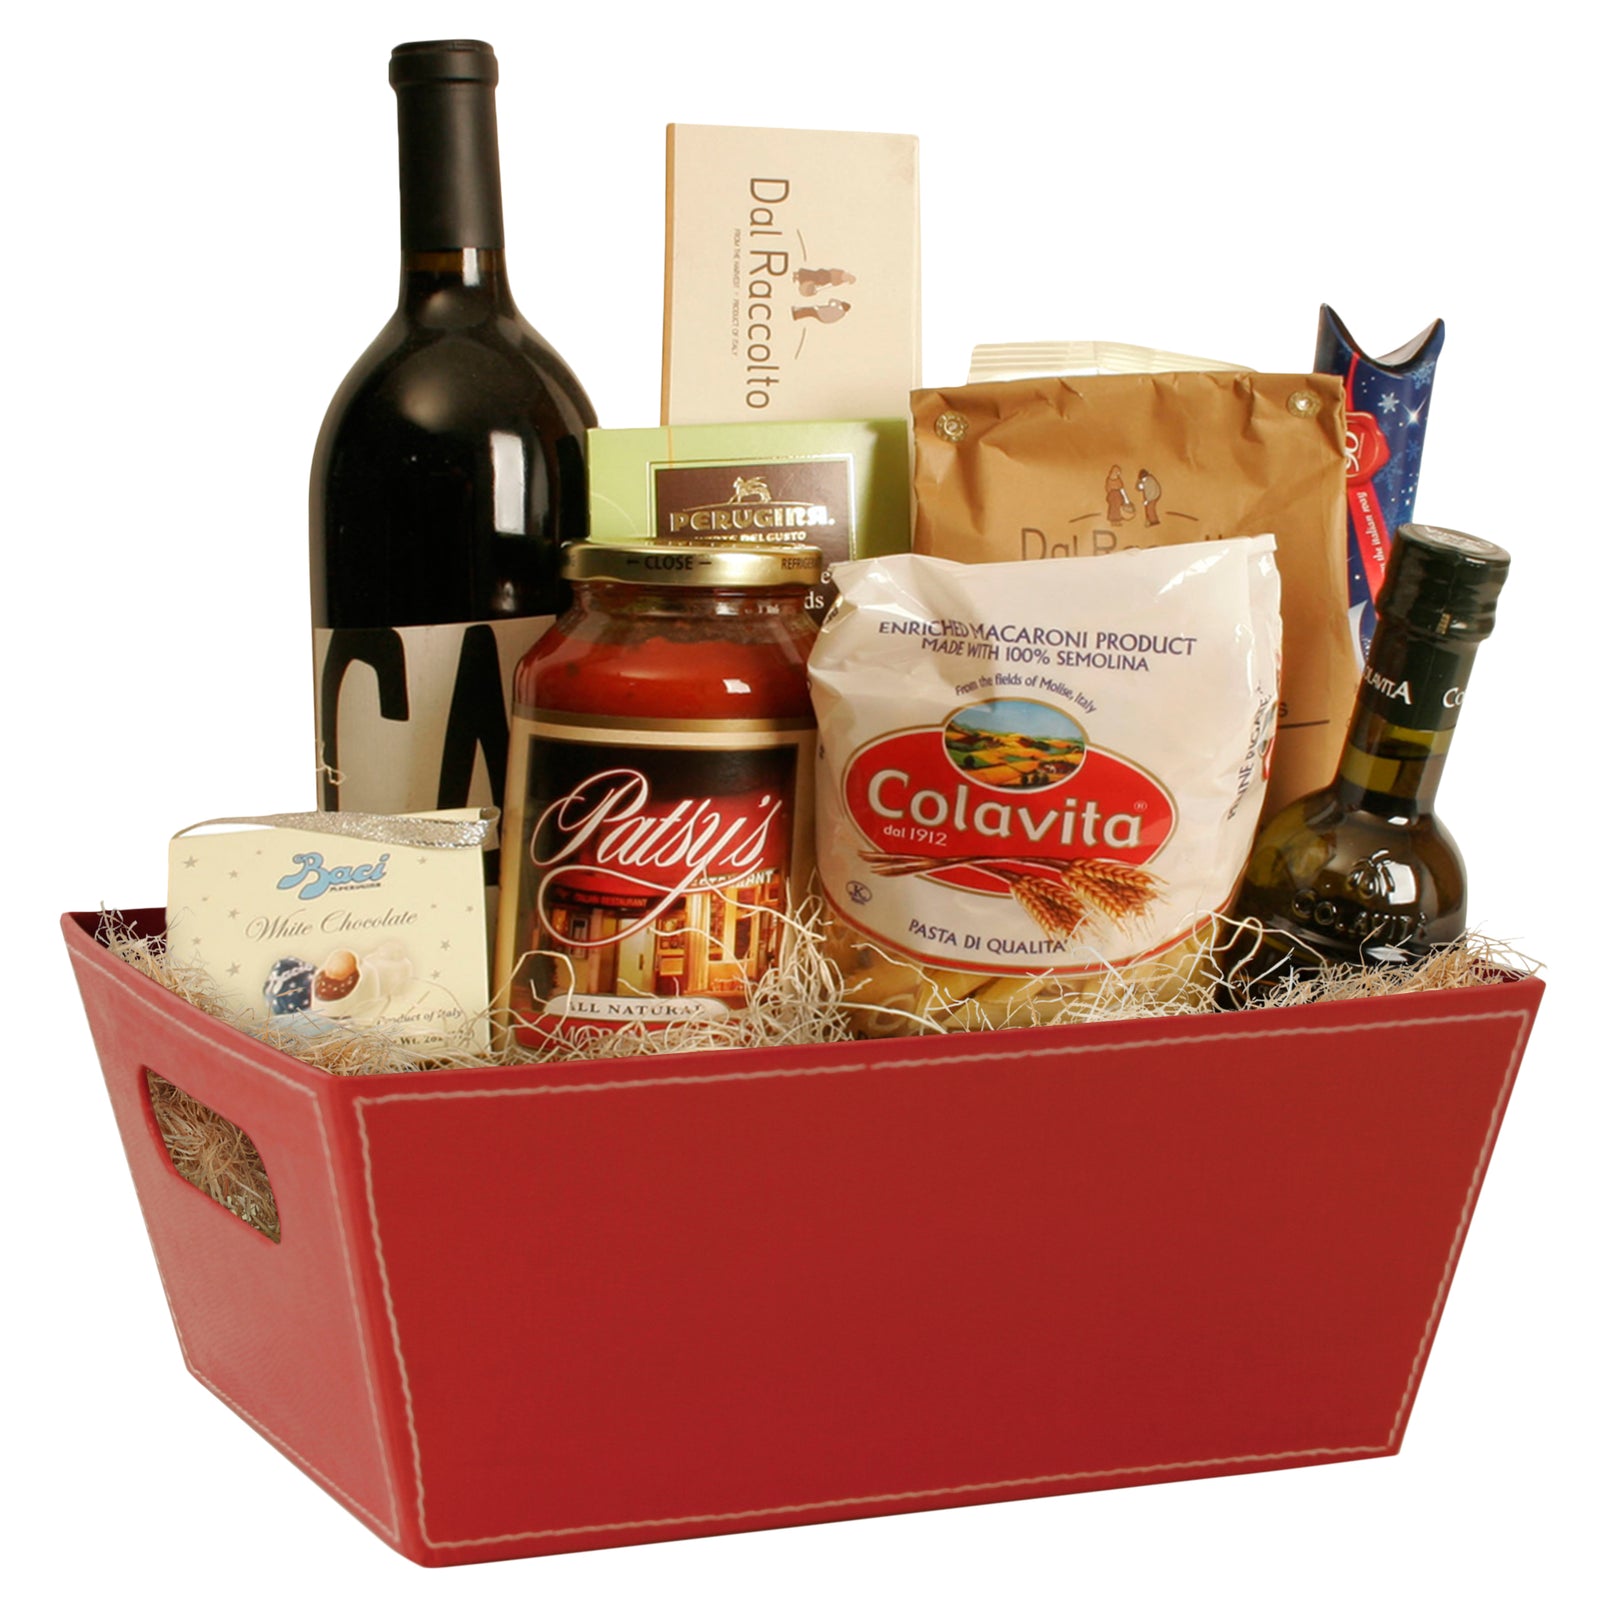
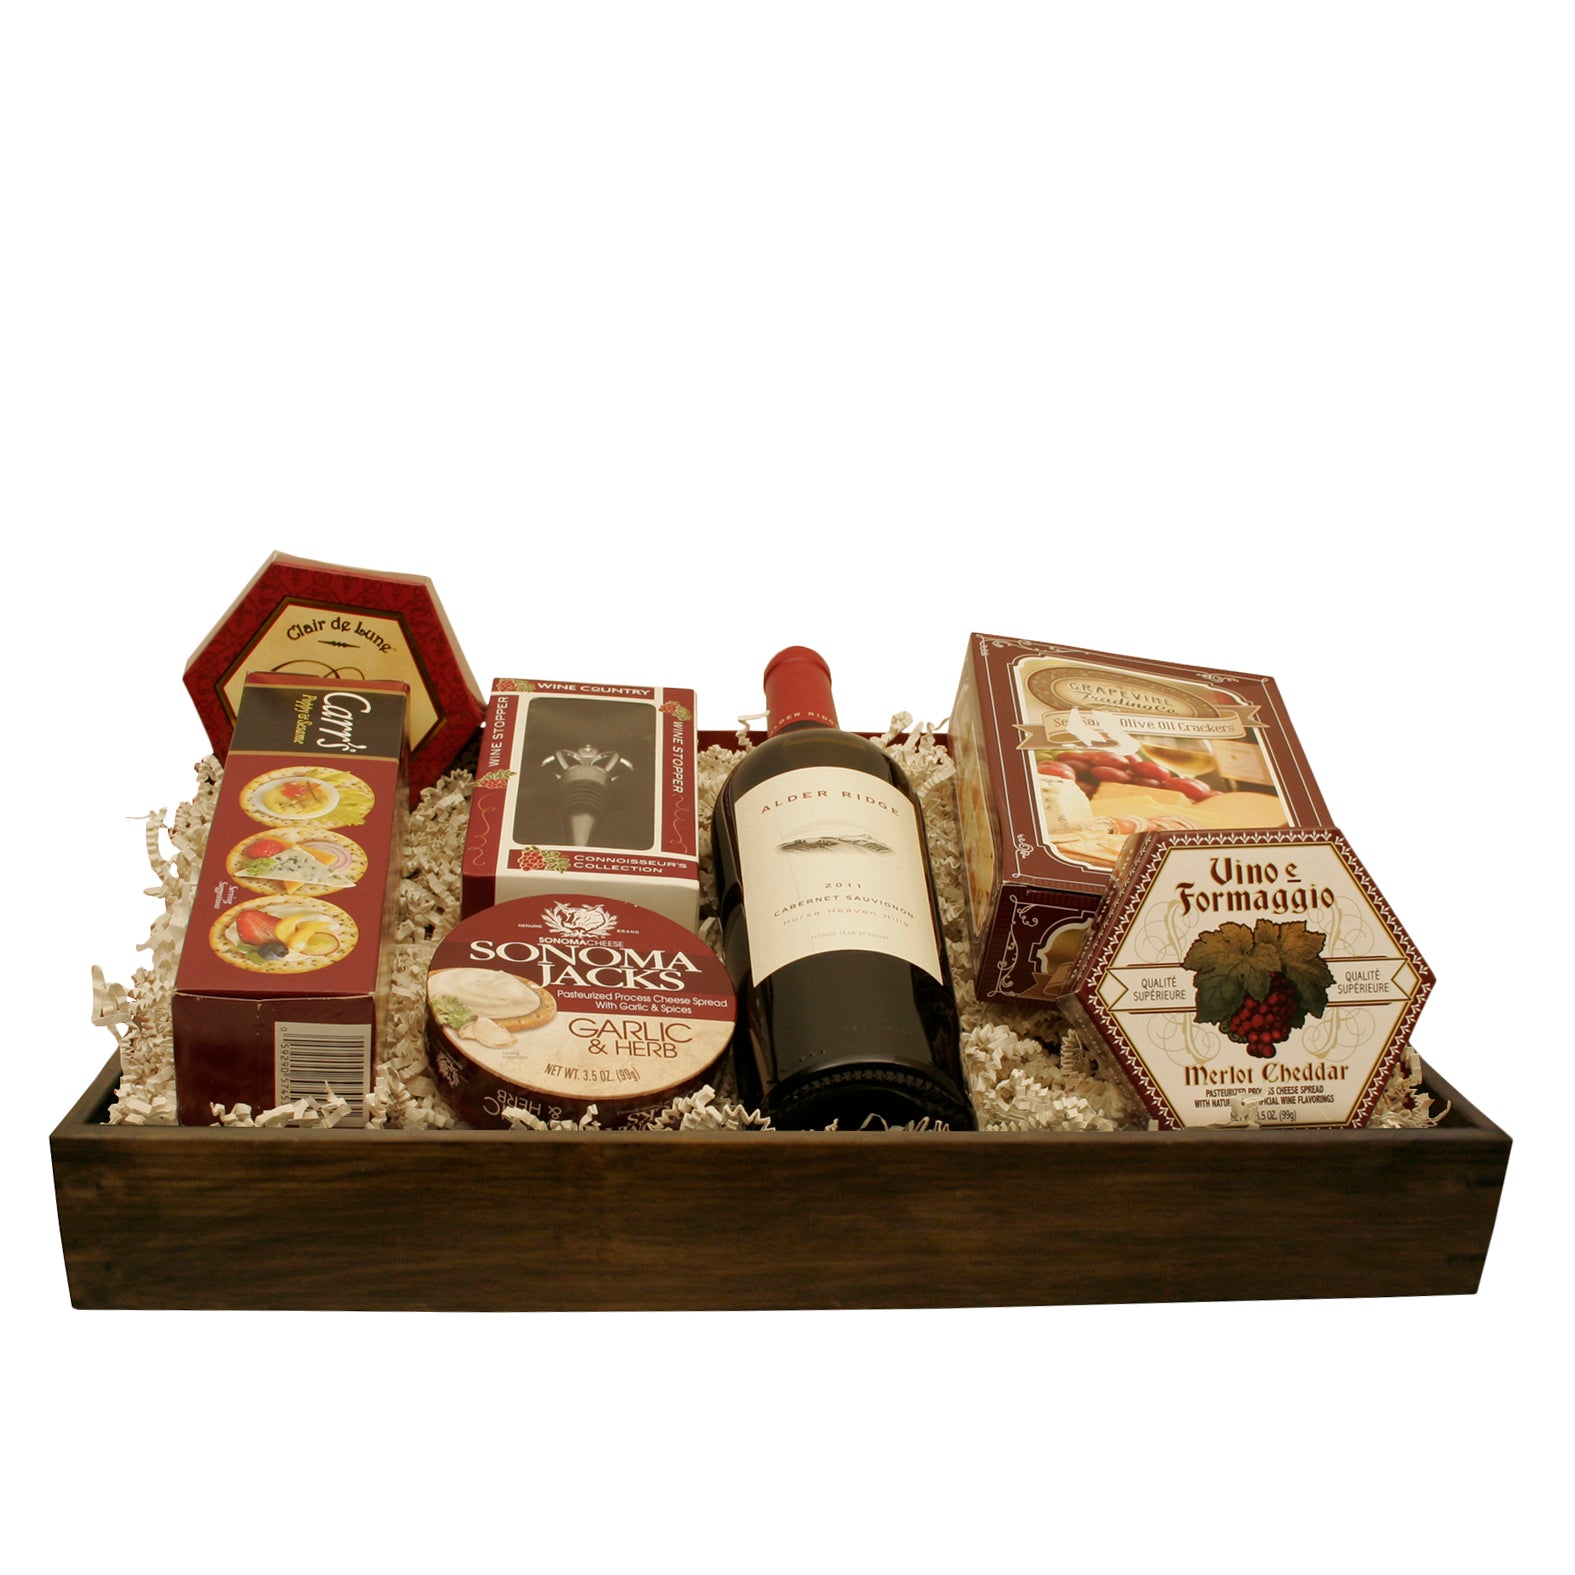
Step 4: Add the products. First create a nest and put in a few bottles of wine. Dig down to the base to add stability and make sure the products are safe and secure. Also, place all products facing outward so the labels are readable. Next, add a few smaller items in front, such as olive tapenade, crackers, nuts and cheese.
Step 5: Wrap the basket. You will first need to measure the basket to determine how much cellophane to use. Start by measuring both the bottom and the height of the basket. You will need to double the height to determine how much cellophane to use. Next, cut the cellophane, put it on a table and place the basket in the middle. Now, wrap up to the handle, gather the ends together and fasten with tape.
Step 6: Dress it up with a nice bow, embellishment or ribbon. Once you start making your own gift baskets, you never stop because they make such wonderful, personalized gifts. Enjoy!
Call us today for your Florists and Gift Basket supplies.